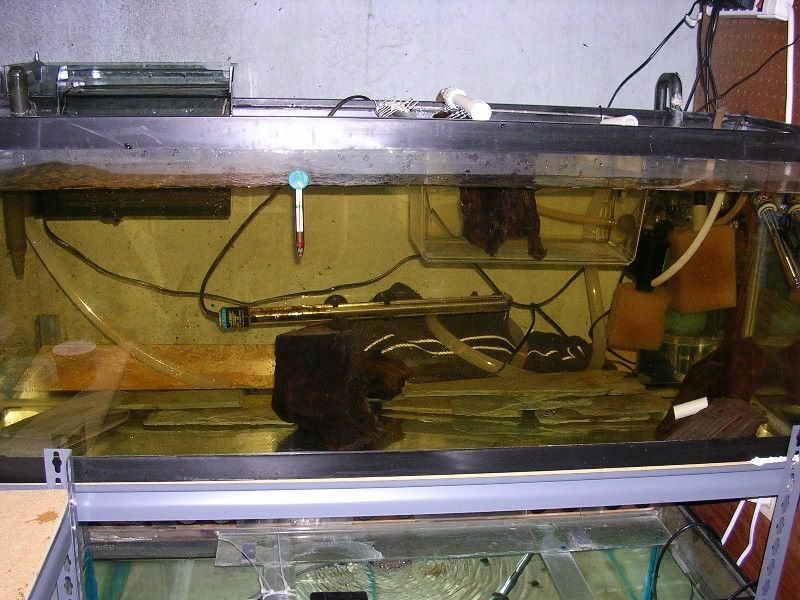
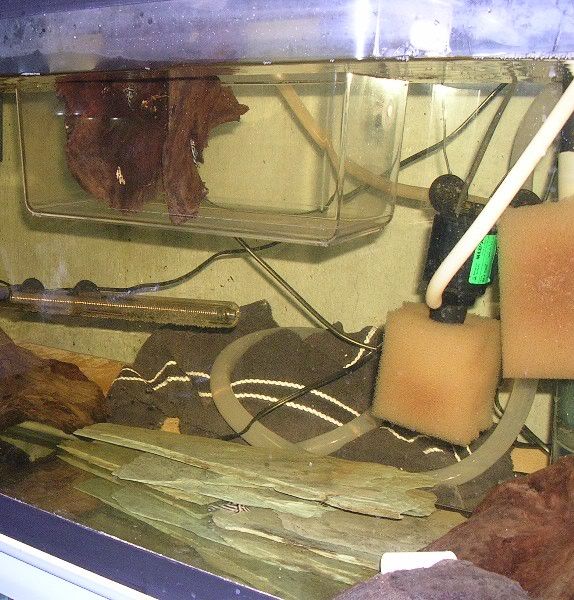
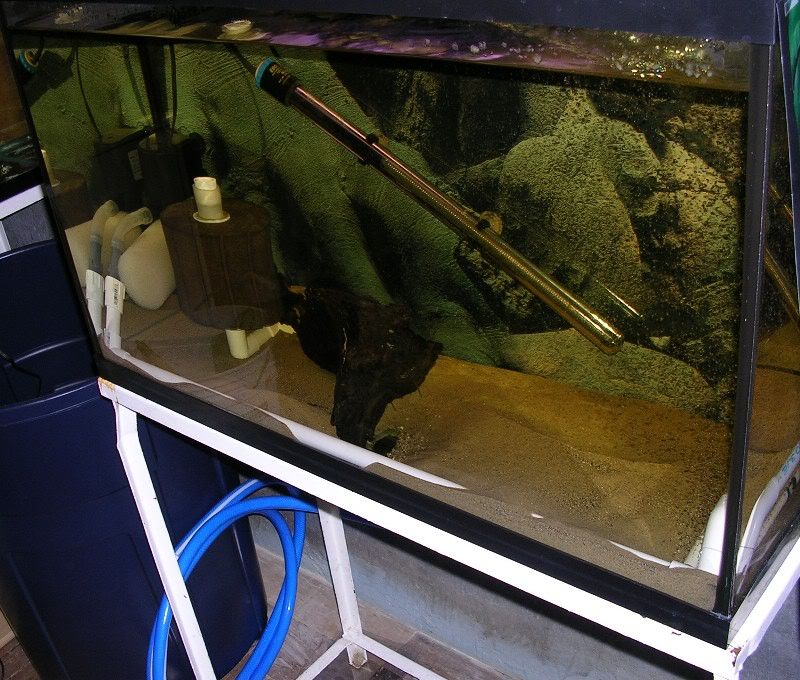
Basically, it's a standard 29G tank, filtered by an aquaclear 300 (new 70?) with its intake hooked up to a hydrosponge. There's also a 300gph powerhead hooked up to a spraybar to add a little extra current. Unfortunately, I forgot to take pics during the set up process, but I tried to stir up the sand a bit and most of the plumbing is still fairly visible with the tank fully set up.
I apologize in advance for the photography
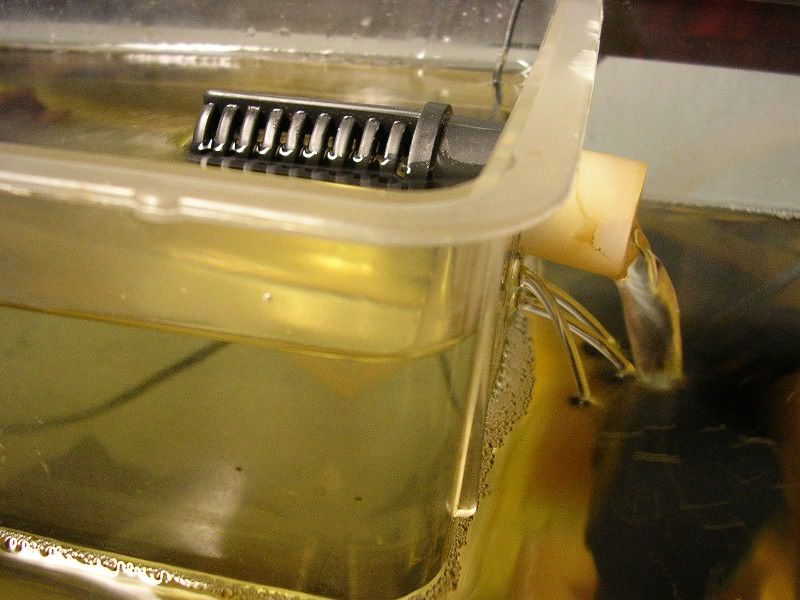
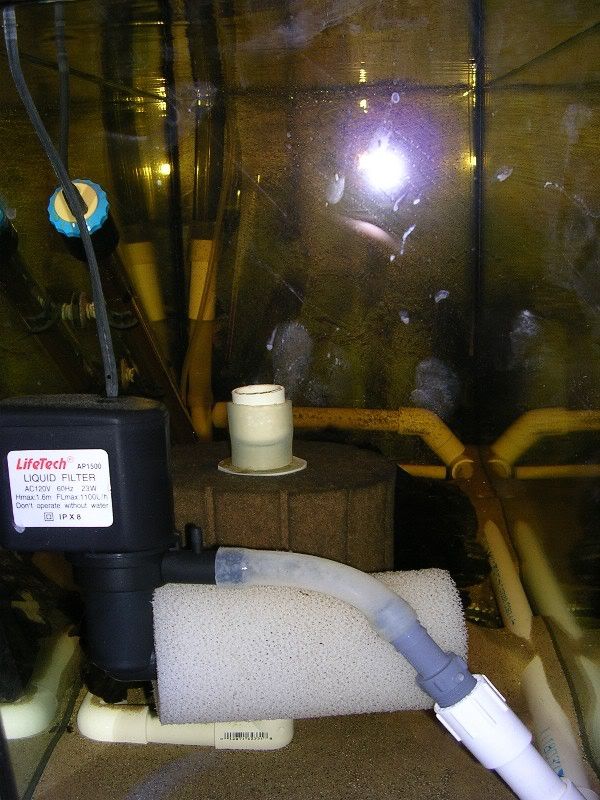
On the right is the where the intake for the aquaclear enters the tank, with the spraybar jutted up against the bottom.
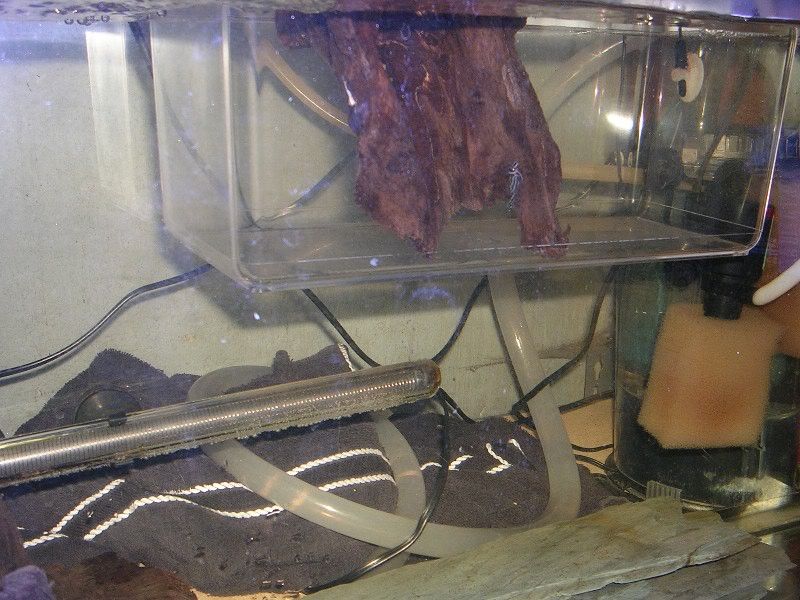
Here's a different angle. You can see part of the plumbing that hooks the sponge up to the aquaclear at the bottom of the sponge, and the powerhead that operates the spraybar nestled in behind.
A better view of the powerhead and hydrosponge.
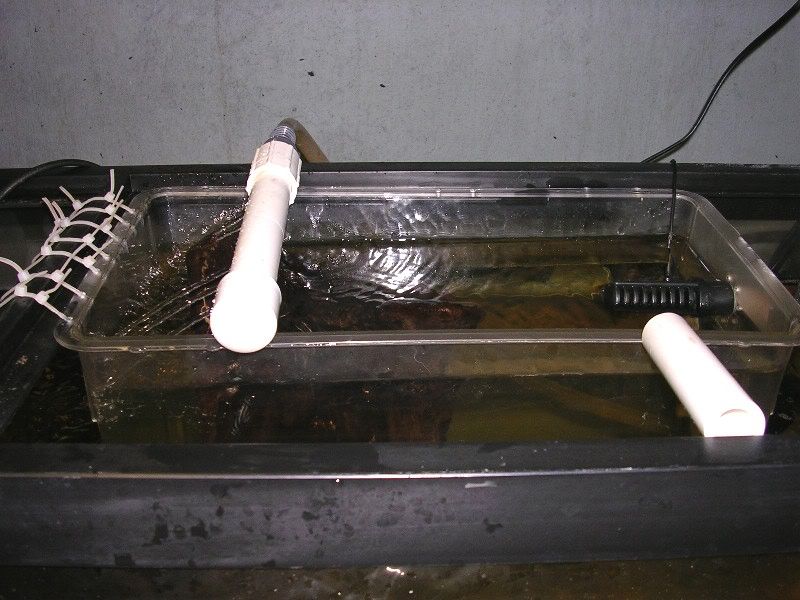
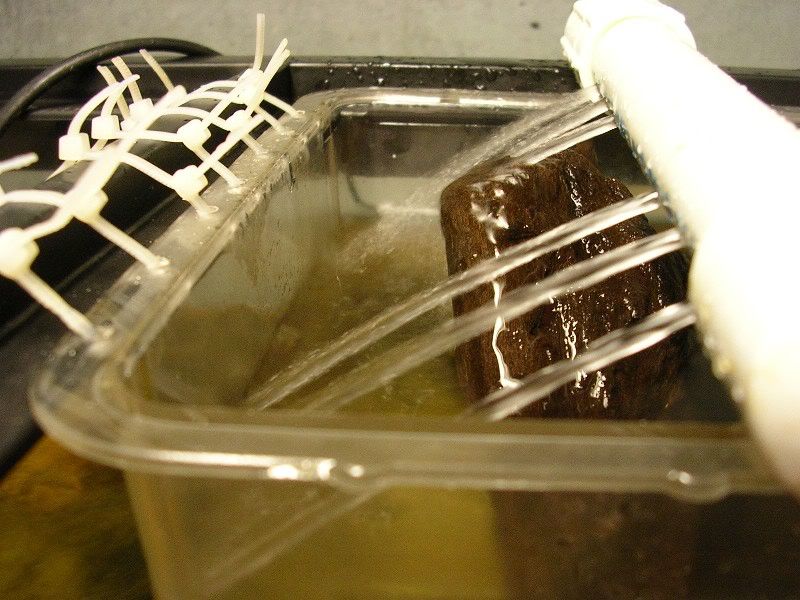
The spraybar with 2 airstones situated right underneath.
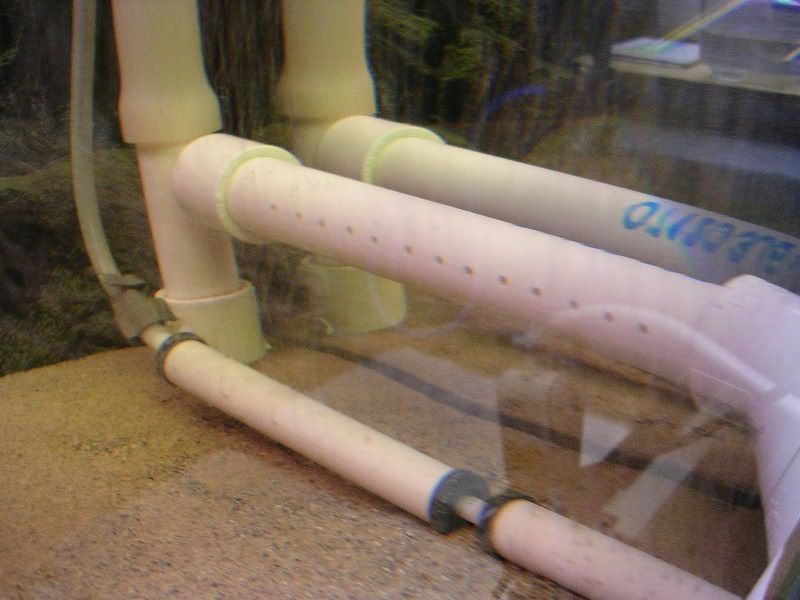
I'm not really sure if this serves any practical purpose, more than it would to put them anywhere else in the tank, but it lets me know that the spraybar is actually working.
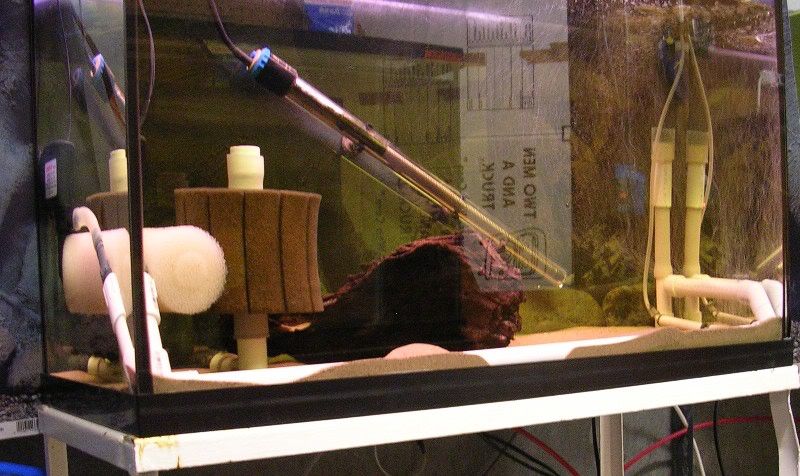
This tank was meant for the zebs I was to be getting from Germany, but I think for now I'll put my two subadults in here. I've still got to make some caves and add a few more pieces of decoration, but it's cycled and ready to house them pretty much as is. Let me know what you think
Val